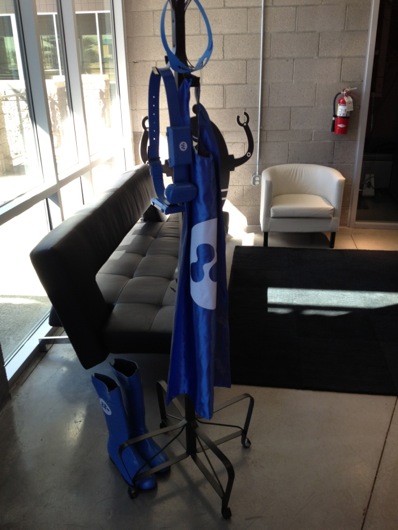
This is the 3rd in a series of articles about the props I built for my company's internal marketing launch, which was themed around superheroes. I had to wait to write these three articles because we hadn't launched yet when I had finished the props. This article focusses on the last partner prop and the simplest of the three, plus the capes, boots, masks and toolbelts used as props near the front doors of our office spaces (making it look like the meltmedia Interactive Superheroes had come in and hung up their stuff on coatracks after a long day of saving organizations from mediocre designs). Here is one of the coatracks with the Interactive Superhero uniform:
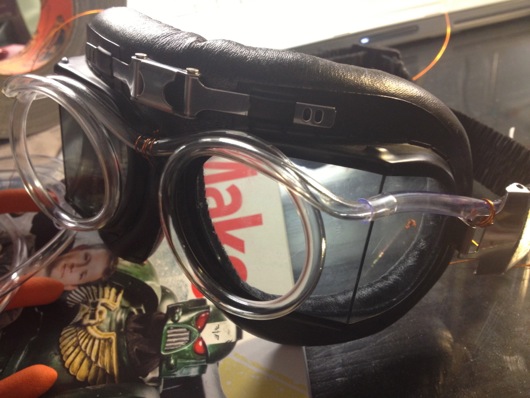
Before we get to the cape and the boots and whatnot, let's talk really quickly about Dave's BEER Goggles Interactive Superhero tool of choice:
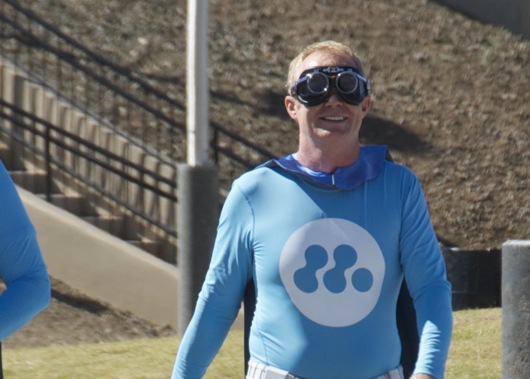
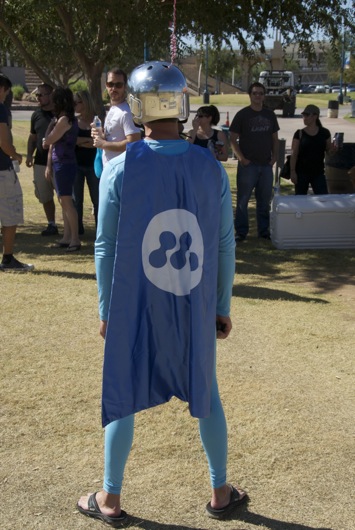
I've always wondered what tangible BEER Goggles would look like. We all know when you hear the term, it usually means a state of drunkenness, not a physical piece of eyewear. I had an old pair of goggles lying around from my skydiving days and a pair of drinking straw glasses I'd gotten as a gift. Add a little copper wire to hold the straw to the goggles and BAM! BEER Goggles you can really wear! Here is what our creative partner Dave looks like in his incredibly fashionable and highly functional BEER Goggles:
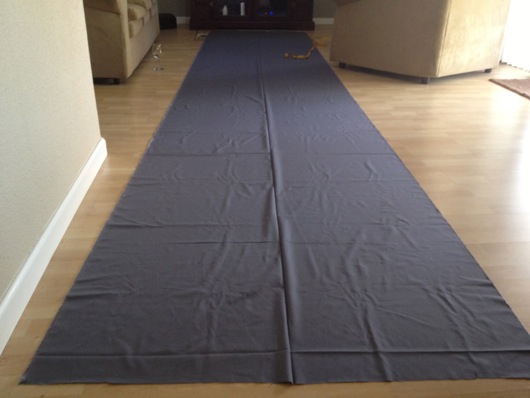
The next big project in my quest to be meltmedia's "Mr. Fox," master superhero tool and weapon maker, was the set of five superhero capes, three of which were to be worn by our company's partners. As it turns out, I do indeed know how to sew, so I set out to find patterns for capes. Unfortunately, I had a hard time find good adult sized patterns, so I used my wife as a model to get a roughly OK cape pattern measured out. I ran to JoAnn Fabric and bought a bunch of satin-esque fabric and some heavier grey cotton fabric to use as backing. I laid out the two long pieces of fabric and started cutting the five rough rectangles out for each cape:
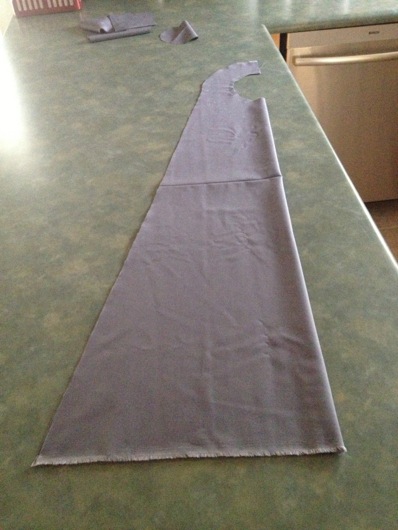
I figured out the pattern and cut the first piece from the cotton backing, thinking if I screwed up on that, I still had the intact satin to make capes from:
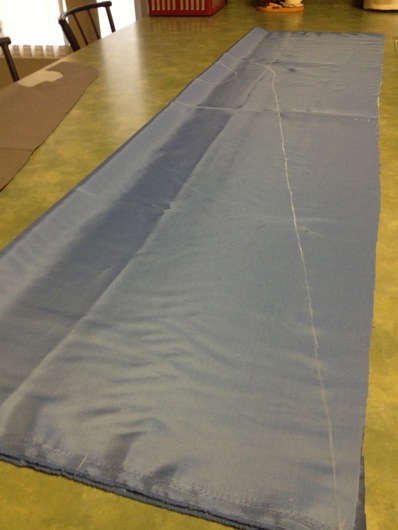
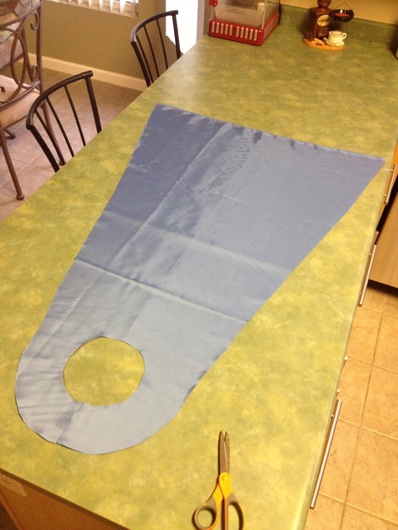
Next, I started copying the pattern to the other fabric and pieces until I had five of each kind of fabric:
With the extra fabric on the edges for the seams, the pattern looks like this:
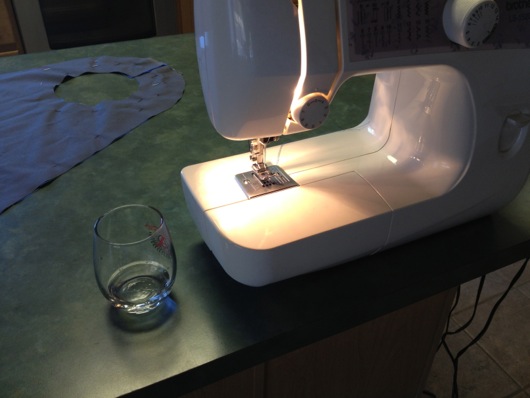
To make my hands even steadier than they usually are, I sipped bourbon while using the sewing machine (technically, it was Maker's White, which is Maker's Mark before it goes into the barrel for aging) (irrelevant to this story, but interesting, no?):
Notice in the background that I did actually use pins to hold the two pieces of fabric in place together while I stitched them together.
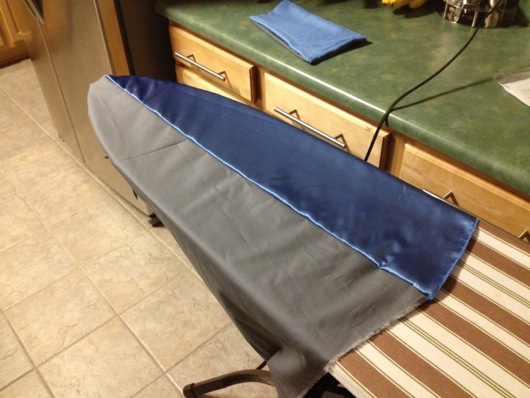
A trick that took me TWO capes to figure out was the ironing of the seams. I had to flatten the seams and then fold them and iron again to get a nice edge where the cape and its backing met, kinda like on suit vests, I guess. The trick was to wait to stitch up the bottom edge of the cape so that the cape could be pulled over the end of the ironing board, like pant legs:
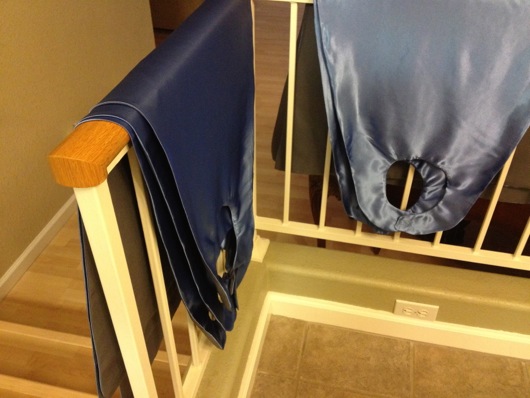
What this allowed me to do more easily was to push out the seams all of the way to where the stitching was visible so that I could completely flatten the seams, then fold them and iron them nice and clean so they come together at the edges perfectly (or as perfectly as a novice like me can get them):
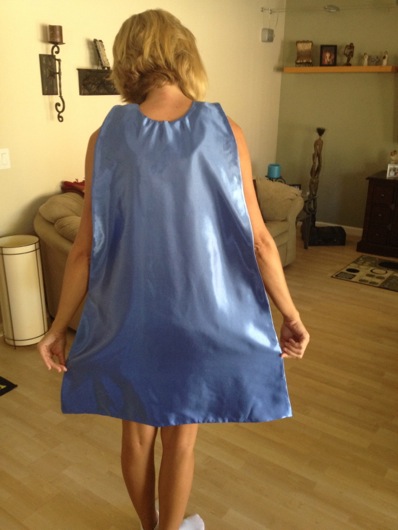
The neck part just needed a little Velcro® and BOOM! Custom-designed, sturdy, lined, shiny superhero capes! Check it:
Then, here is an action shot of a cape with the meltmedia logo silkscreened onto it:
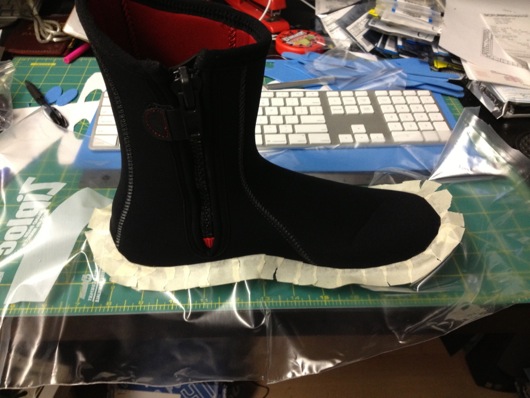
Now, the boots took a little trial and error. The first pair I found I thought would work really well but turned out to be a horrible idea. They were diving boots made from neoprene. What's the take-away from this? Neoprene soaks up paint like nobody's business. But, here was how I masked one off for painting:
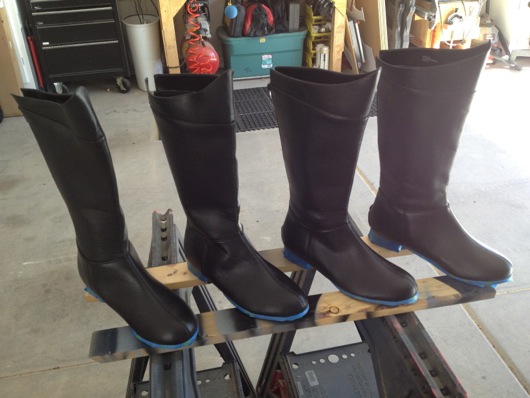
Plan B: Get on Amazon and order actual superhero costume boots, like these (I guess the pointy tops make them not-average-citizen boots):
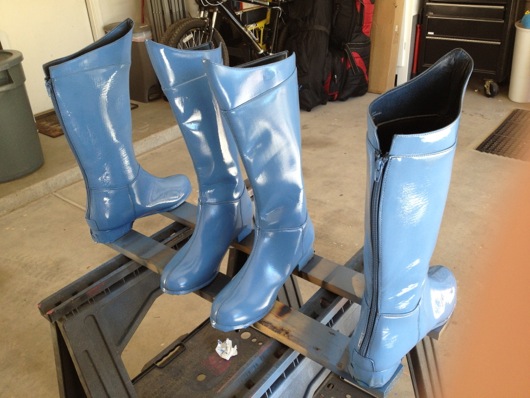
I put a coat of primer on 'em and then spray-painted them our superhero blue:
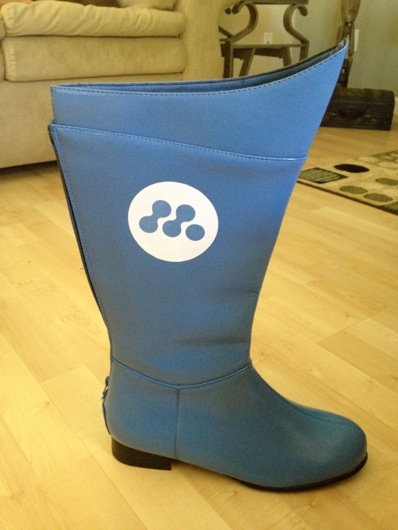
The final touch was to get the meltmedia logo on them. To save myself the hassle of cutting all weekend, I just printed the logo in reverse in a circle, but the cutout logo was printed in a color as close to the paint as I could get it on my HP Color LaserJet. That way, I only had to cut out circles. Easy-peasy:
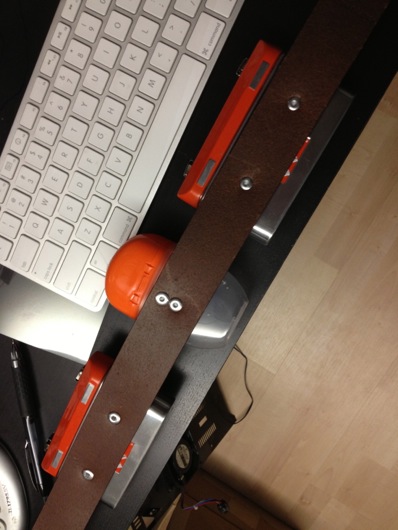
Next item up for making? Superhero utility belts! For these, I took a couple of leather belts from Target, riveted a couple of Home Depot gift card containers and a Tic Tac container and painted it all, masking off the brass buckle, of course:
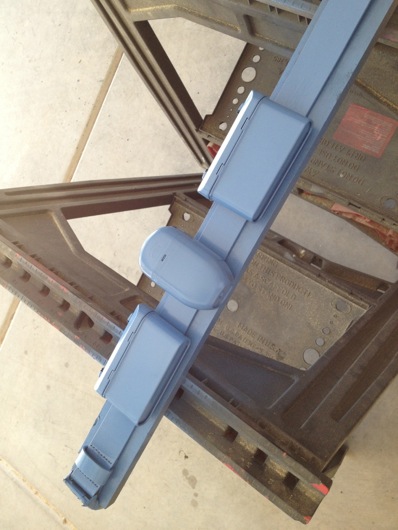
Next step was the paint:
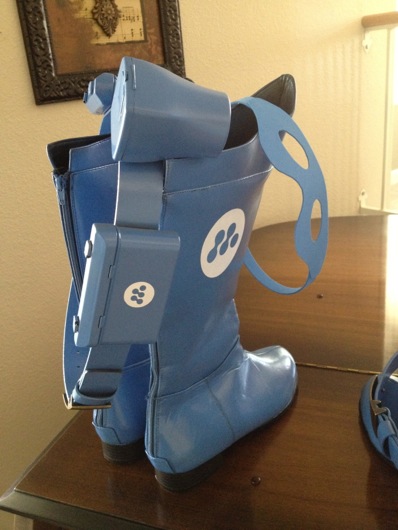
Finally, add one of them swanky meltmedia logos with the blue knockouts and SHAZAM! meltmedia Interactive Superhero official utility belts matched to official meltmedia Interactive Superhero costumes:
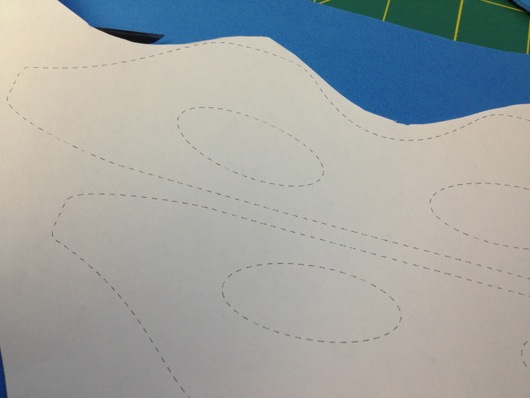
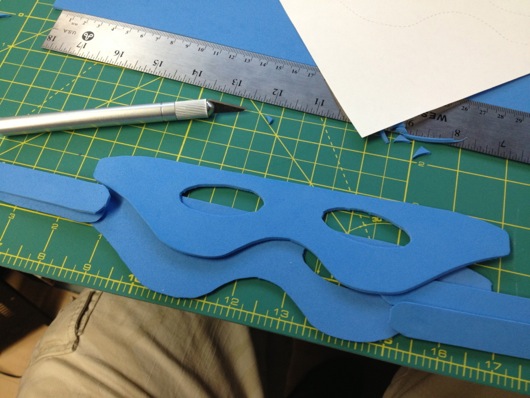
The last piece to complete the costumer is the mask. I didn't spend much time on these. They weren't meant to be worn. I put a sheet of overhead transparency film over my wife's face and drew a superhero-looking mask in Sharpie. I then transfered that into Adobe Illustrator by way of the flatbed scanner and cleaned up the lines. I printed patterns of the mask on regular paper with dashed lines. I then took a razor blade and cut out the masks from blue foam board stuff (er, whatever it's called):
Cut outs and headband pieces, too:
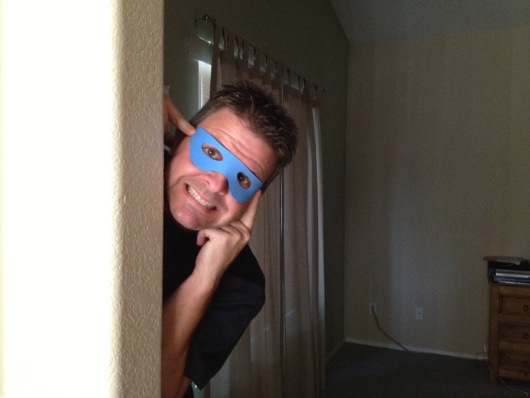
You can't even tell who's behind the superhero mask, they're THAT good!
So, that's the story of how I spent three weekends playing meltmedia's own Mr. Fox, making mad props, playing with electronics, tinkering with foam and making homemade DIY movie magic, even though there isn't a movie featuring the props. ... Or is there? ;)
