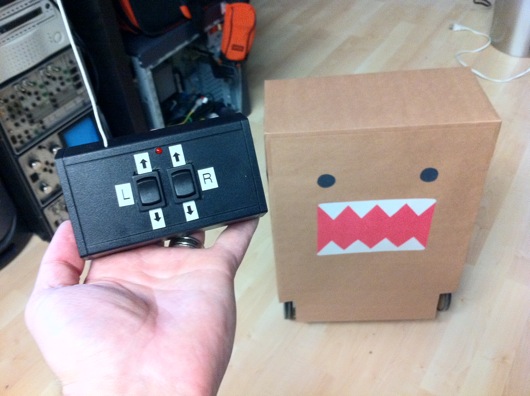
 The Short Attention Span version: I ripped apart a cheap remote controlled car and repurposed most of the parts into a self-balancing robot based on the Domo character because I thought one of the partners of the company I work for would enjoy it, as he seems to enjoy Domo stuff. I got the idea from a coworker who suggested I build this for the Domo partner.
The idea is not original to me. I was sent a link to Instructables.com that showed one in action. I didn't follow the directions, so the engineering is my own brew. But, I will say, that's an ingenius way to make an upright, two-wheeled roboto-doo-dad.
Here is the YouTube video of the robot in action:
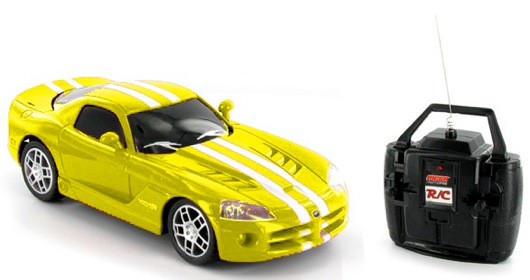
So, the first thing I did was destory this car (or it was a close cousin):
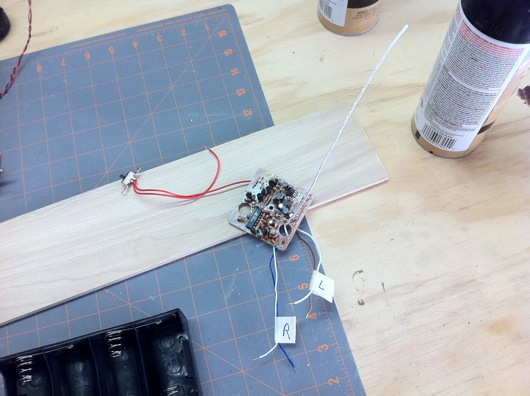
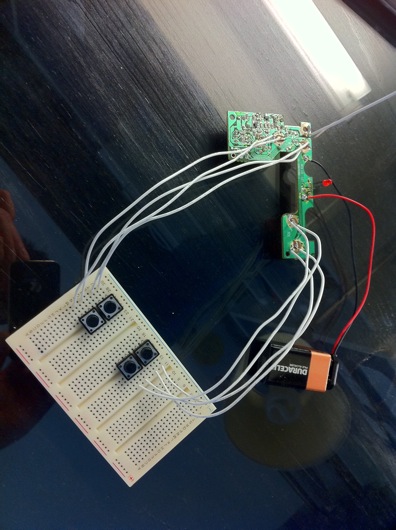
I took out the main circuit board from the car and the circuit board from the remote.
I figured out which wires ran which motor. One set ran the drive motor to make the car go zoom. The other set ran a motor that simply turned the steering all the way to the left or all the way to the right. No in-between steering on this one. The front wheels self-centered thanks to a little spring. BUT, we had two motors controllable by two rocker buttons on a remote and that's all we needed.
I ordered some little rocker switches, a battery, and a plastic project box into which I could mount the remote stuff. I wound up trimming the circuit board down and resoldering the leads to the buttons so that it would fit snuggly in the project box.
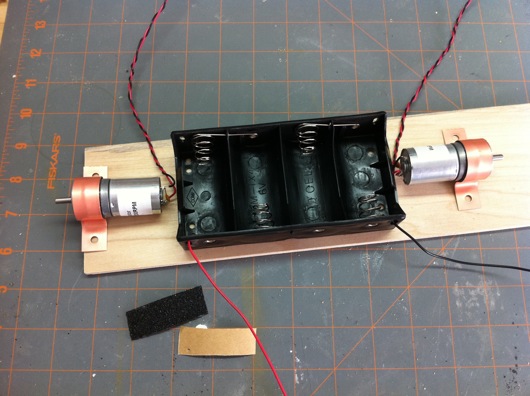
I made the base and wheels (shown later on) out of some poplar I had lying around. I guesstimated all the sizes and dimensions, basing them around the way things kinda fit together on the board I used for the base. I ordered some geared down DC motors from AllElectronics.com. The wheels needed to not spin too quickly or Domo would constantly slam his head down on the ground. Gearing down the 6V supplied by the circuit was simple and cheap.
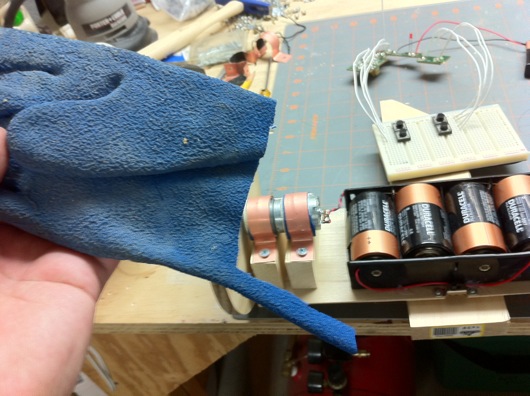
I cut strips of rubber gloves and lined the copper motor brackets with them. This did a nice job of preventing the motors from twisting themselves when starting up. At the point I built the base of the bot, I hadn't purchased the bike inner tube that I used to cover the wheels to make them more grippy-tactic, otherwise I would have used that material.
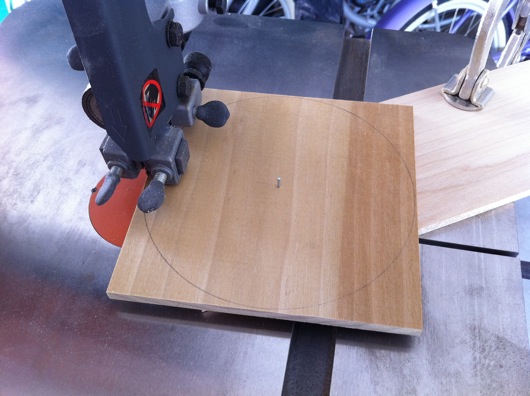
Next, I needed to make wheels that were as circular as I could get them so that Domo didn't roll with a limp. I searched the web for easy jigs to cut circles with bandsaws. The crazy-simplest one I found was just a brad nail in the dead center of the circle to cut and a board below on which the piece being cut could rotate. Place an edge of the circle up against the blade and SLOWLY start rotating the piece. I say SLOWLY because pushing too quickly makes the blade run off-course. I have new round scraps of wood to prove it.
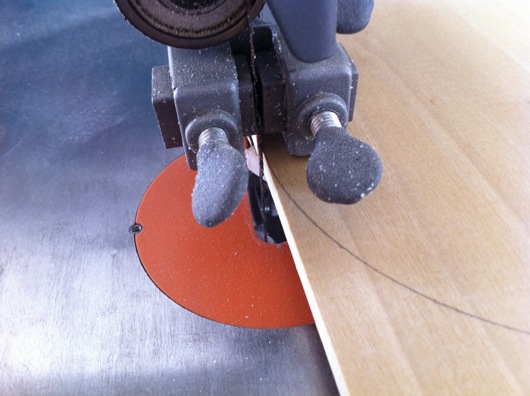
Notice the lower piece right behind the blade. The closer that bottom piece is to the blade, the better it supports the piece being cut. The cut needs to start at the edge of the circle because we're only going to rotate the piece being cut. If you don't scribe your circle as perfectly as you can and you don't put that rotation point as dead-center as possible, it won't be a beautiful circle when it's completed.
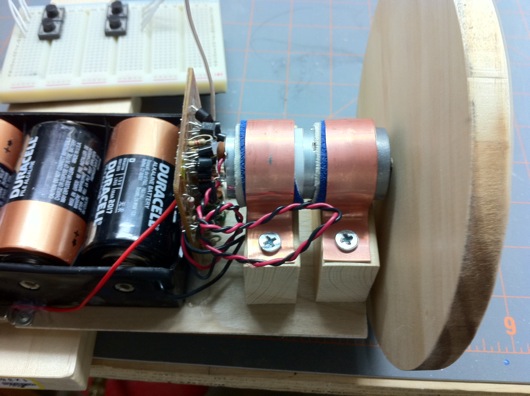
At first, I only used a single motor bracket. That gave the robot a sloppy angle on the wheels, so I added a second bracket to help sturdy up the axles. The wheels were 1/4-inch at first. I switched those out with 1/2-inch to add a little more stability to the wheels. As you can see in this photo, I simply hot-glued the main board in between the batteries and the right side motor.
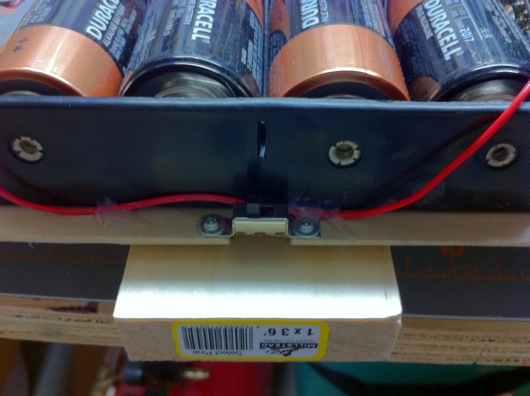
I cut a notch and mounted the power switch facing downward, initially. That was painful and dumb. So I flipped it over. Why? First time the bot made a turning start, he switched himself off. Duh.
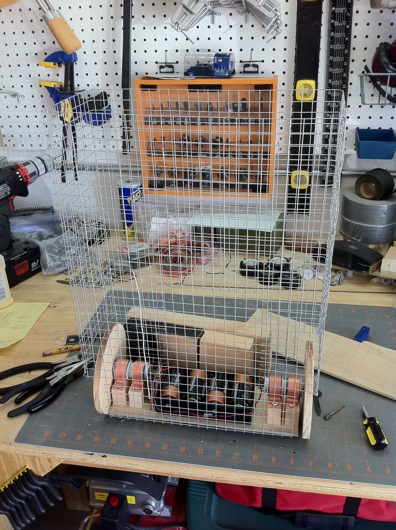
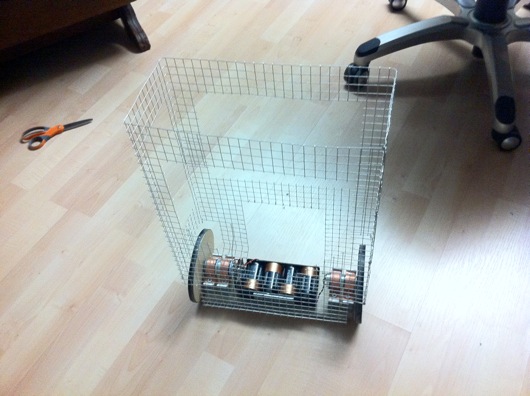
Now, as mentioned above, the whole idea behind this thing staying upright on its own is for it to have a heavy butt. With four D-cells and a bunch of metal bars and wheel balancing weights, you'd think that would be enough to counter that wire frame. You'd be wrong about that. I had to snip out a bunch of that wire to lighten the load to make him more bottom-heavy.
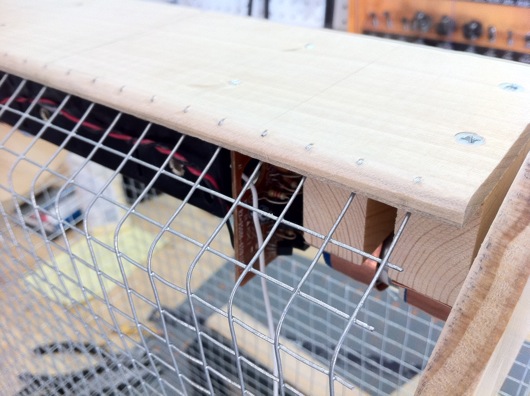
To firmly attach the skeleton to the butt, I left plenty of extra pokey wires on the bottom edge of the skeleton. I then drilled holes in the base and pulled the skeleton down through them. I bent the wires outward and then ground them down. In fact, EVERY STEEL wire sticking out needed to be ground down. I know have lots of little holes in my hands and arms, thanks to that incredibly pointy steel wire.
I bent the shape of the skeleton on my table saw. I used a metal straight edge to push each bend down into the miter slots on the steel table of the saw. It worked great! Since I always do my own stunts, climbing up on the table saw wasn't that big of a deal.
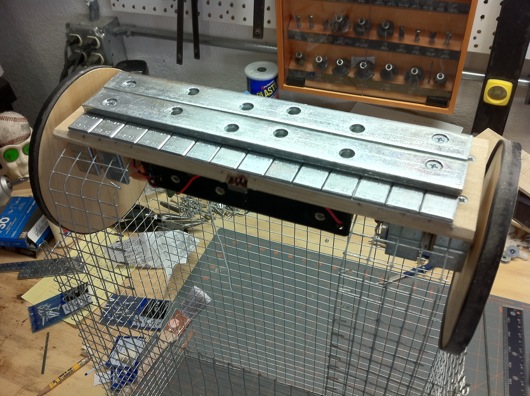
For the bot to stay upright, as mentioned above, weight was key. Besides the big batteries, I needed some more weight below, so I picked up some joist repair bars at Home Depot. They're heavy and they have nice countersunk screw holes in them. I mounted four of them to the base and then used some car wheel balancing 0.5 gram weights I got free from a very nice guy at Pep Boys Auto Parts. I used the little weights to get the bot balanced and vertically straight. It's incredibly heavy, but stable.
Another thing I think I mentioned before was the need to lose some weight up top. I cut some strategic holes into the body to lighten the load. It worked perfectly.
With the help of a little construction paper and a glue stick, the body is complete. At this point, as you can see in the photo, the body construction paper isn't bent inward down near the base. I eventually did that and tacked the edges every inch or so with some hot glue for good measure. I also put construction paper on the wheels to add some nice finish to the thing.
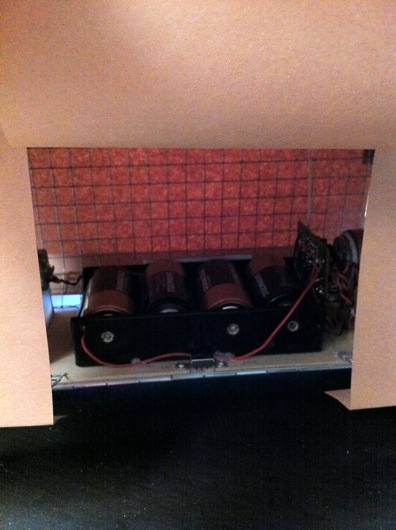
The power switch and the batteries are accessible through a flap in Domo's butt. It sometimes flaps in the breeze while he's running around, like the tails of a tuxedo coat.
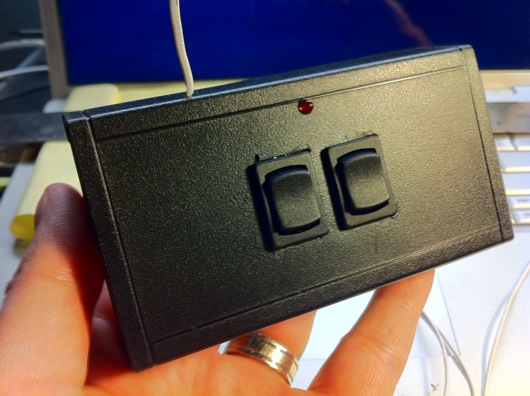
I got a handful of slick little rocker switches to run each motor forward or backward. I did some minor butchering on the holes underneath the flanges of the switches. What does one expect for a free robot skinned in construction paper? The red LED is the original from the RC car remote. The antenna was a piece of wire I had on my bench. To change the 9-volt battery, you just unscrew the four screws on the bottom of the box. Easy.
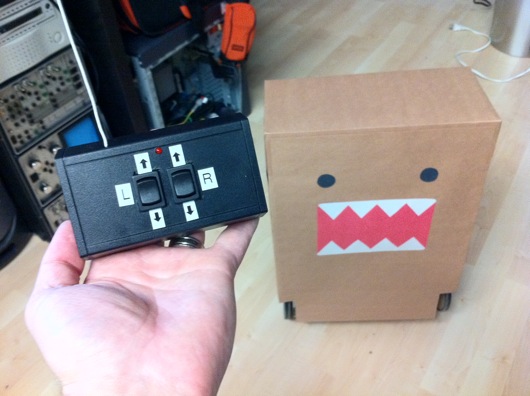
I used my trusty little label maker and put some stickers on the buttons to aid in its use.
To steer Domo around, you drive him like a tank: Push both buttons forward to move forward in a straight line. Push just one to make a wider turn. Push both buttons opposite each other to spin him in place. Push both buttons back and he goes straight back.
Dave, the guy I gave the bot to, has a dog. The dog doesn't like the bot. It is funny to watch, though.


